Are you looking for a fun and easy way to add some relaxation to your self-care routine? Look no further than DIY bath bombs! These fizzy, fragrant treats add a touch of luxury to your bath while helping you unwind and destress. Best of all, you can make your own bath bombs at home with just a few simple ingredients and supplies. In this beginner’s guide, we walk you through everything you need to know to create your own custom bath bombs and turn your tub into a spa-like oasis.
What Are Bath Bombs?
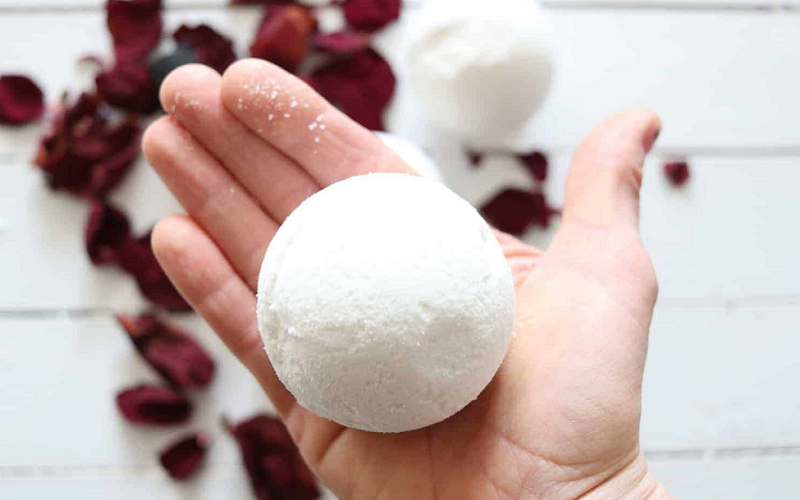
Bath bombs are a popular and luxurious addition to a bath that can add a variety of benefits, including relaxation, moisturization, and aromatherapy. They are small, often spherical, dry mixtures that are dropped into the water and then dissolve, fizz, and release a variety of beneficial ingredients such as oils, salts, and scents.
The typical ingredients in bath bombs include baking soda (also known as sodium bicarbonate) and citric acid, which react together when they come into contact with water, creating a fizzy reaction that can last several minutes. The reaction also releases carbon dioxide, which creates bubbles and helps to distribute the other ingredients in the water.
Bath bombs may also contain other ingredients like Epsom salt (magnesium sulfate), which can help to relax muscles and ease tension, as well as essential oils or fragrance oils that provide a pleasant scent and can help to enhance relaxation. Some bath bombs may also contain natural ingredients such as dried flowers, herbs, or clay for added skin benefits.
Bath bombs are available in a wide variety of shapes, sizes, and scents, and can be purchased from many retailers, including specialty bath and body stores and online marketplaces. However, they can also be easily made at home with just a few simple ingredients and supplies.
Making your own bath bombs is a fun and creative activity that allows you to customize your bath experience with your preferred scents and ingredients. Plus, crafting your own bath bombs can be a cost-effective alternative to purchasing them, especially if you make them in large batches.
Bath Bomb Ingredients and Supplies
Making bath bombs is a fun and creative activity that allows you to customize your bath experience with your preferred scents and ingredients. To get started, you will need a few key ingredients and supplies.
Bath Bomb Ingredients
Here we look at the key ingredients used to make bath bombs, and how they contribute to the fizzing and nourishing properties that make bath bombs such a popular addition to any bath.
- Baking soda (sodium bicarbonate): Baking soda is a key ingredient in bath bombs, as it reacts with citric acid to create the fizzing effect that makes bath bombs so fun. It also helps to soften the skin and balance pH levels.
- Citric acid: Citric acid is a natural acid that reacts with baking soda to create the fizzing effect. It is also a natural preservative and can help to exfoliate and brighten the skin.
- Cornstarch: Cornstarch helps to bind the ingredients together and create a smooth texture.
- Epsom salt (magnesium sulfate): Epsom salt can help to soothe sore muscles and ease tension, making it a popular ingredient in bath bombs.
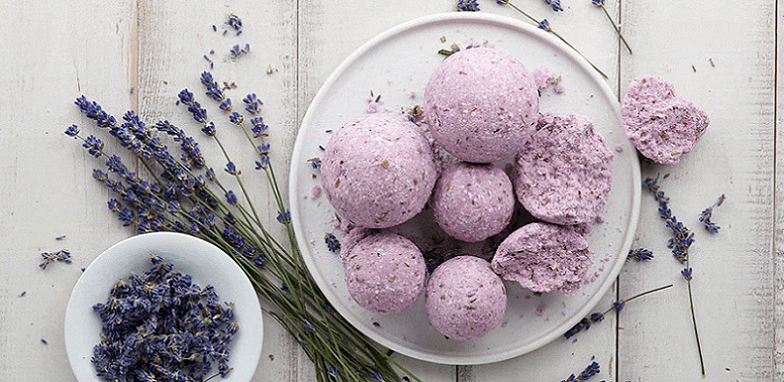
- Essential oils: Essential oils are concentrated plant extracts that can provide a range of benefits, including relaxation, stress relief, and skin nourishment. Popular essential oils for bath bombs include lavender, peppermint, eucalyptus, and chamomile.
- Carrier oils: Carrier oils are used to dilute essential oils and help to disperse them throughout the bath water. Popular carrier oils for bath bombs include sweet almond oil, jojoba oil, and coconut oil.
- Food coloring or natural colorants: To add color to your bath bombs, you can use food coloring or natural colorants such as beetroot powder, turmeric, or spirulina.
- Additional ingredients: You can also add other ingredients to your bath bombs to provide additional benefits, such as dried herbs, clay, or powdered milk.

Bath Bomb Supplies
Here we look at the essential supplies you need to make your own bath bombs, from mixing bowls to molds, and how each one plays an important role in the bath bomb crafting process.
- Mixing bowl: You’ll need a large mixing bowl to mix all of your ingredients together.
- Whisk: A whisk or fork can help to mix the ingredients thoroughly.
- Spray bottle: You’ll need a spray bottle filled with water to spritz the mixture as you mix it, which helps to moisten the ingredients and bind them together.
- Bath bomb molds: Bath bomb molds can be purchased online or at craft stores and are used to shape the bath bombs.
- Plastic wrap: Plastic wrap can help to keep the bath bombs in their mold while they dry.
- Storage container: Once the bath bombs are dry, you’ll need a container to store them in.
DIY Bath Bomb Step-by-Step Instructions
Making your own bath bombs is a fun and creative activity that allows you to customize your bath experience with your preferred scents and ingredients. Here’s how you go about creating your own luxurious bath bombs.
Begin by gathering your ingredients and supplies. You will need baking soda, citric acid, cornstarch, Epsom salt, essential oils, carrier oils, food coloring or natural colorants, mixing bowl, whisk, spray bottle, bath bomb molds, plastic wrap, and a storage container.
In a large mixing bowl, combine 1 cup of baking soda, 1/2 cup of citric acid, 1/2 cup of cornstarch, and 1/2 cup of Epsom salt. Mix the dry ingredients together thoroughly.
In a separate bowl, mix together your wet ingredients. Add 2-3 tablespoons of carrier oil, 20-30 drops of essential oil, and a few drops of food coloring or natural colorants to the bowl. Mix well.
Next, slowly add the wet ingredients to the dry mixture, whisking as you go. Mix slowly and continuously to avoid over-activating the citric acid.
As you mix, spray the mixture with water using a spray bottle. Only add a little water at a time, as you don’t want the mixture to get too wet. You want the mixture to stick together when you press it between your fingers, but not be too damp.
Once your mixture is the right consistency, pack it into your bath bomb molds. Press the mixture firmly into the mold, making sure it is tightly packed. Leave the bath bombs in the molds for several hours, or overnight, to dry. You can cover the molds with plastic wrap to help keep the bath bombs in place while they dry.
Once the bath bombs are dry, gently remove them from the molds and store them in an airtight container. To use your bath bombs, simply drop one or two into your bath water and enjoy the fizzing, fragrant experience.
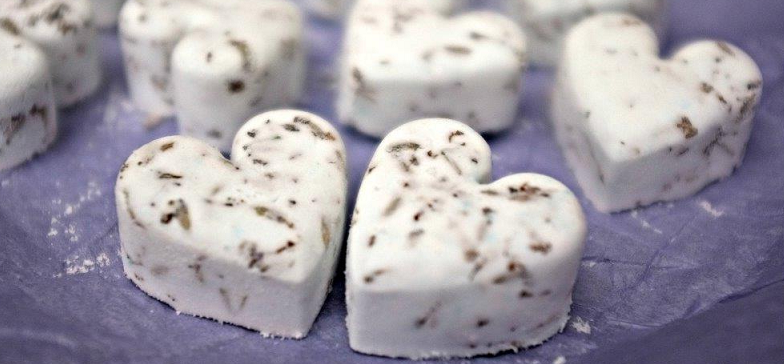
DIY Bath Bomb Customization Options
When making your own bath bombs, there are several ways to customize them to enhance your bath experience. You can choose the scent of your bath bomb by using essential oils, such as lavender, peppermint, or eucalyptus. You can add color to your bath bombs using food coloring or natural colorants like beetroot powder or spirulina.
Bath bomb molds come in a variety of shapes, so you can choose one that suits your preferences. You can adjust the size of your bath bombs or add other ingredients, such as dried flowers, herbs, or clay, to provide additional benefits for your skin and relaxation. Multi-layered bath bombs with different scents or colors can add a visual and sensory experience to your bath.
Custom packaging such as jars, gift boxes, or sachets can personalize your bath bombs and make them a thoughtful and handmade gift for friends and family. Customizing your bath bombs allows you to create a personalized and enjoyable self-care experience that is tailored to your preferences and needs.
Storing and Using Bath Bombs
After making your bath bombs, it is important to store them properly to maintain their effectiveness. You can store your bath bombs in an airtight container in a cool, dry place to preserve their fizzing and fragrance properties. Bath bombs have a shelf life of several months, and you should label them with the date you made them.
When you’re ready to use your bath bombs, simply drop one or two into your bath water and let them dissolve. Soak in the bath for 20-30 minutes to allow the ingredients to work their magic, and then rinse off thoroughly. Personalize your bath experience by adding candles, music, or a good book to make it even more enjoyable.
By following these tips, you can ensure your bath bombs remain fresh and effective, and that you have a relaxing and enjoyable bath experience.